
You’ve set up your WooCommerce store, added your products, and everything looks great. But then you notice something’s off. The add-to-cart button isn’t showing up where you want it, or maybe it’s not working the way you expected.
Here’s the thing: the add-to-cart button is the most important element on your product page. It’s the bridge between browsing and buying. Without it working properly, you’re basically asking customers to window shop forever.
In this guide, you’ll learn exactly how to add, customize, and optimize your WooCommerce add-to-cart button. Whether you want to add it to custom pages, change its appearance, or make it work better for your customers, we’ve got you covered.
Why the WooCommerce Add-to-Cart Button Matters More Than You Think
Let’s be honest. A missing or broken add-to-cart button is like having a store with no checkout counter. Customers can look at your products all day, but they can’t actually buy anything.
The impact on your business is real. According to the Baymard Institute, the average cart abandonment rate is nearly 70%. While that includes people who add items and leave, many potential customers never even get that far because they can’t find or use the add-to-cart button properly.
Think about it from your customer’s perspective. They’ve found the perfect product. They’re ready to buy. But the button is hidden, unclear, or just plain missing. What do they do? They leave. They find another store. You’ve lost a sale.
It’s frustrating when something so simple becomes a roadblock. Your WooCommerce add-to-cart button should be obvious, accessible, and working perfectly on every device. If it’s not, you’re leaving money on the table.
How the WooCommerce Add-to-Cart Button Works
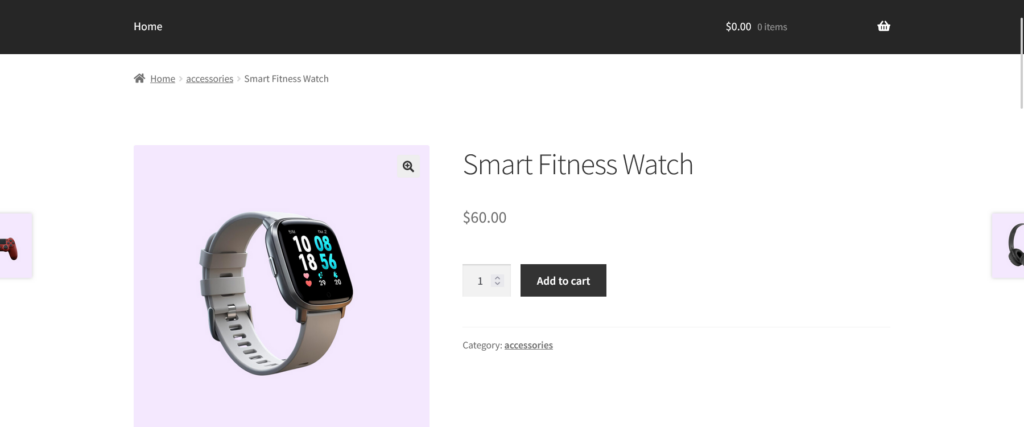
Understanding how WooCommerce handles add-to-cart functionality helps you customize it better. By default, WooCommerce automatically adds the button to product pages, shop pages, and archive pages based on your product type.
Where the Button Appears by Default
WooCommerce shows add-to-cart buttons in several places:
- Single product pages (the main buy button)
- Shop and category pages (quick add buttons)
- Related products sections
- Widget areas if you’re using product widgets
The button looks and behaves differently depending on the product type. Simple products get a straightforward “Add to Cart” button. Variable products show a “Select Options” button instead. Grouped products display individual buttons for each item.
What Happens When Someone Clicks It
When a customer clicks the add-to-cart button, WooCommerce adds the product to their cart and either redirects them to the cart page or shows a confirmation message. You can control this behavior in your WooCommerce settings under Products > Add to Cart.
The button uses AJAX by default on shop pages, which means customers can add products without refreshing the page. This creates a smoother shopping experience and reduces friction in the buying process.
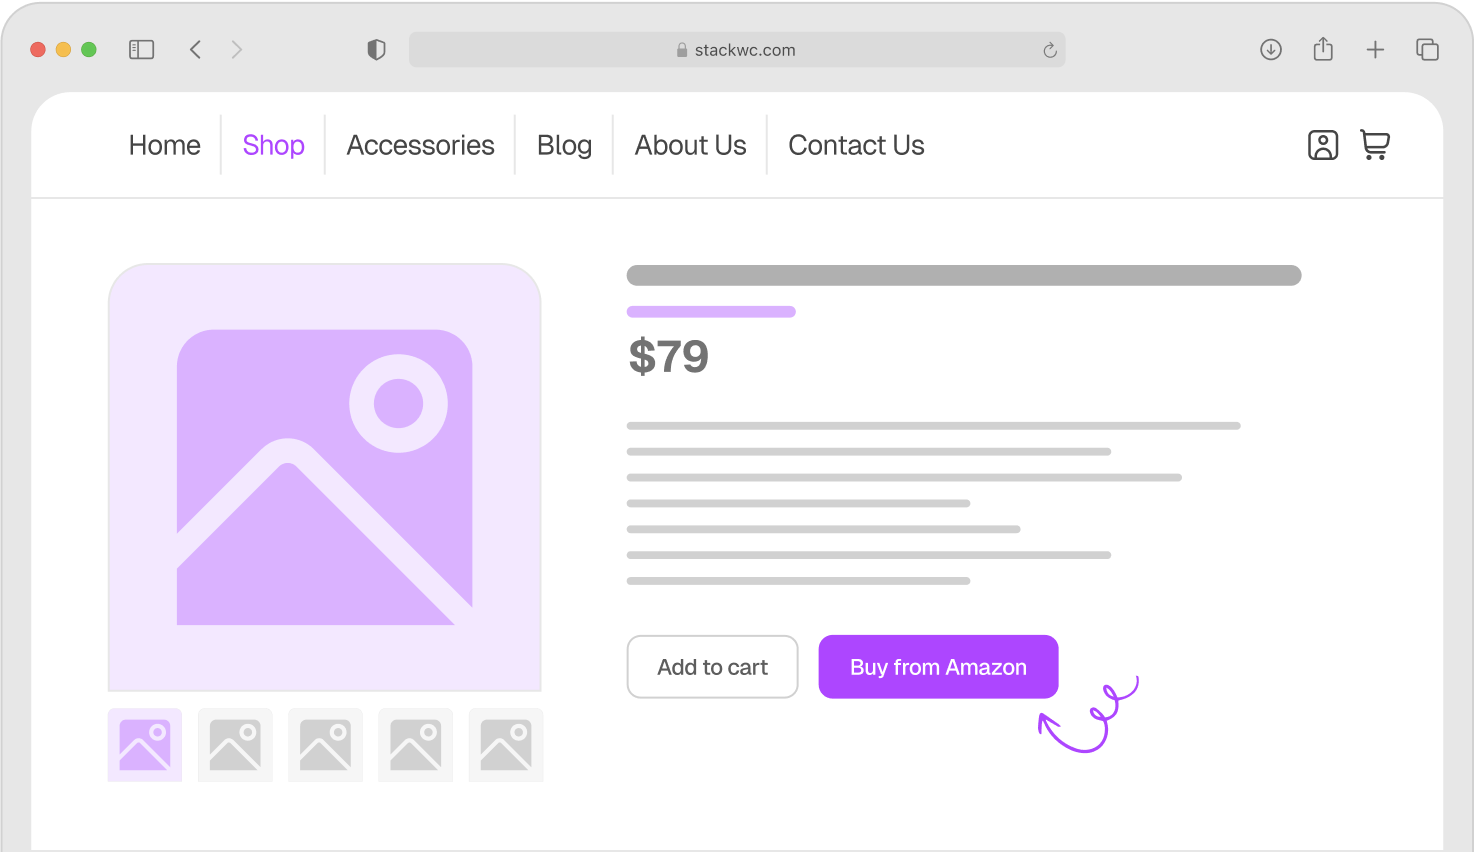
If you want to speed up the entire checkout process even further, the Quick Buy Now Button for WooCommerce plugin adds a “Buy Now” option that skips the cart entirely and takes customers straight to checkout. It’s perfect for reducing cart abandonment and increasing impulse purchases.
Step-by-Step Guide to Adding the Add-to-Cart Button
Here’s how to add WooCommerce add-to-cart buttons in different scenarios. No coding required for most methods.
Method 1: Using the Default WooCommerce Shortcode
The easiest way to add an add-to-cart button anywhere is using WooCommerce’s built-in shortcode.
- Find your product ID by going to Products in your WordPress dashboard and hovering over the product name. You’ll see the ID in the URL.
- Copy this shortcode and replace 123 with your actual product ID: [add_to_cart id=”123″]
- Paste it anywhere you want the button to appear—pages, posts, widgets, or even your footer.
- Customize with parameters like showing price or quantity selector: [add_to_cart id=”123″ show_price=”true” quantity=”1″]
That’s it. The button appears wherever you place the shortcode.
Method 2: Adding to Custom Page Templates
If you’re comfortable with a tiny bit of code, you can add the button to custom templates.
- Open your theme’s template file where you want the button (like page.php or a custom template).
- Add this PHP code where you want the button: <?php echo do_shortcode(‘[add_to_cart id=”123″]’); ?>
- Save the file and refresh your page.
This works great for custom landing pages or promotional pages where you’re featuring specific products.
Method 3: Using Page Builders
Most page builders, such as Elementor, Beaver Builder, and Divi, support WooCommerce elements.
- Edit your page with your page builder.
- Look for WooCommerce widgets in the elements panel.
- Drag the “Add to Cart” element to your page.
- Select your product from the dropdown or enter the product ID.
- Style it using the builder’s design controls.
- Publish your page.
Page builders make it visual and easy without touching any code.
Ready to Try?
These methods work for standard add-to-cart buttons. But if you want to give customers an even faster path to purchase, check out the Quick Buy Now Button for WooCommerce. It adds a one-click checkout button alongside your regular add-to-cart button, perfect for impulse purchases and mobile shoppers.
Real-World Examples and Use Cases
Let’s look at how different types of stores use add-to-cart buttons effectively.
Example 1: Fashion Boutique
Sarah runs an online clothing store. She wanted her add-to-cart button on both the product page and in a custom section on her homepage featuring new arrivals. By adding the button to her custom template, she saw a 23% increase in homepage conversions. Customers could buy featured items immediately without navigating to separate product pages.
Example 2: Digital Downloads Store
Mike sells WordPress themes and plugins. He needed the add-to-cart button on his comparison table page so customers could buy directly after comparing features. He used a shortcode to add buttons next to each product in his custom table. His time-to-purchase decreased by 35% because customers didn’t need to visit individual product pages.
Example 3: Food Subscription Service
A meal kit company wanted to add quick-order buttons on their blog posts about recipes. They embedded product-specific add-to-cart buttons directly in their content. When readers found a recipe they loved, they could order the ingredients instantly. This integration increased their blog-to-sale conversion rate significantly.
These examples show that the add-to-cart button isn’t just for product pages. Strategic placement throughout your site can capture buying intent wherever it happens.
Common Questions About Add-to-Cart Buttons
The most common reasons are theme conflicts or WooCommerce not being properly installed. Check that your product is published and in stock, then try switching to a default WordPress theme temporarily to see if it’s a theme issue.
Yes. You can change the button text using filters in your theme’s functions.php file or with plugins like Say What. You can change “Add to Cart” to “Buy Now,” “Shop Now,” or anything else that fits your brand.
You can customize the button’s appearance using CSS in your theme’s customizer or style.css file. Target the class .add_to_cart_button to change colors, size, borders, and hover effects.
Not with the default WooCommerce button, but you can create a grouped product or use plugins that support bulk add-to-cart functionality for multiple items at once.
Make Your Add-to-Cart Button Work Harder
The add-to-cart button is more than just a button. It’s your conversion tool. When it’s properly placed, clearly visible, and working smoothly, it turns browsers into buyers.
Remember these key points: use shortcodes for quick placement anywhere on your site, ensure the button is visible on all devices, test it regularly to make sure it’s working, and consider strategic placement beyond just product pages.
Here’s one final tip: pair your add-to-cart button with clear product information and great images. The button gets them to the cart, but the information convinces them to click it.
Ready to maximize your conversions and reduce checkout friction? Try the Quick Buy Now Button for WooCommerce with a 14-day money-back guarantee. No risk, fully supported, no coding needed. Give your customers the fast checkout option they’re looking for.