Introduction
Starting your own online store is an exciting journey, and if you’ve chosen WooCommerce as your platform, you’ve made a smart decision. As the most popular eCommerce solution for WordPress, WooCommerce powers millions of online stores worldwide, from small boutiques to large-scale enterprises.
But here’s the thing: having a beautiful storefront means nothing if you don’t know how to add products in WooCommerce effectively. Your product listings are the heart of your online business, they’re where browsers become buyers, and where your entrepreneurial dreams turn into reality.
Whether you’re launching your first store or migrating from another platform, understanding how to add products in WooCommerce properly will save you countless hours of frustration and help you avoid common pitfalls that can hurt your sales.
In this comprehensive guide, you’ll learn everything from adding your first simple product to managing complex variable products with multiple attributes. We’ll cover the technical steps, share optimization tips, and help you create product listings that not only look professional but also convert visitors into customers.
Let’s dive in and get your products online the right way.
Understanding WooCommerce Product Types
Before diving into the product creation process, it’s helpful to understand the different product types WooCommerce offers:
Simple products are standalone items with no variations, like a book or a coffee mug. Variable products have multiple variations based on attributes like size, color, or material. Grouped products are collections of related simple products sold together, while external/affiliate products redirect customers to another website to complete the purchase.
For most beginners, you’ll primarily work with simple and variable products.
Prerequisites Before Adding Products
Before you start adding products, make sure you have:
- WooCommerce installed and activated on your WordPress site
- Basic store settings configured (currency, location, shipping zones)
- Product images prepared and optimized
- Clear product descriptions and pricing information
If you haven’t set up WooCommerce yet, check out this guide on how to set up WooCommerce for beginners.
How to Add a Simple Product in WooCommerce
Adding a simple product is straightforward. Here’s the step-by-step process:
Navigate to Products > Add New from your WordPress dashboard. You’ll see a familiar interface similar to creating a WordPress post.
Start by entering your product name in the title field. This should be descriptive and include relevant keywords that customers might search for. For example, “Organic Cotton T-Shirt” works better than just “T-Shirt.”
In the main content area, write your product description. This is where you provide detailed information about the product, its features, benefits, and use cases. Make it engaging and informative, addressing potential customer questions.
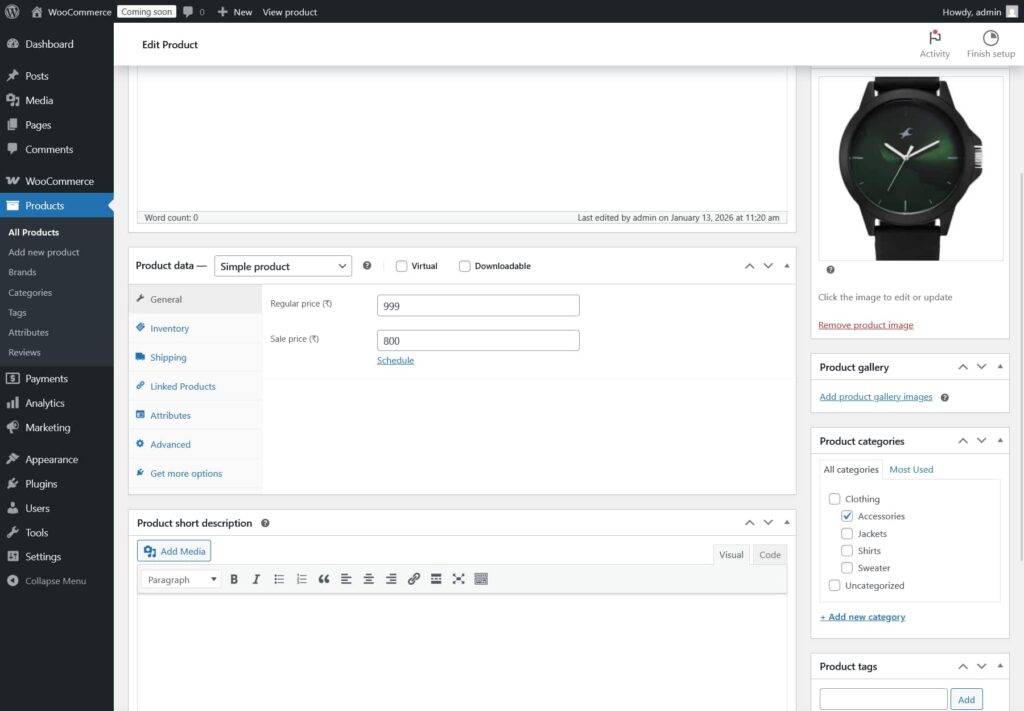
Scroll down to the Product Data section. Ensure “Simple product” is selected from the dropdown menu.
Under the General tab, enter your product’s regular price and sale price if applicable. The sale price will automatically display as the active price to customers.
Adding Product Images and Galleries
Visual content significantly impacts purchasing decisions. WooCommerce allows you to add a featured product image and a product gallery.
Click Set product image on the right sidebar to upload your main product photo. This image appears in product listings and at the top of individual product pages.
For additional angles or lifestyle shots, use the Product Gallery option. Simply click “Add product gallery images” and select multiple images. Customers can browse through these images on the product page.
Setting Up Product Categories and Tags
Organizing products with categories and tags helps customers navigate your store efficiently.
On the right sidebar, you’ll find Product Categories and Product Tags. Categories are hierarchical (you can have parent and child categories), while tags are non-hierarchical keywords.
For example, if you sell clothing, you might have categories like “Men’s Clothing” and “Women’s Clothing,” with subcategories like “Shirts,” “Pants,” and “Accessories.”
Tags might include specific attributes like “summer-collection,” “eco-friendly,” or “bestseller.”
Proper categorization also improves your store’s SEO by creating organized URL structures and improving internal linking.
Configuring Inventory and Shipping
The Inventory tab in the Product Data section lets you manage stock levels. Enable “Manage stock” to track inventory automatically.
Enter your stock quantity, and WooCommerce will update it as orders are placed. You can also set low stock thresholds to receive notifications when inventory runs low.
Under the Shipping tab, enter the product’s weight and dimensions. This information is crucial for calculating shipping costs accurately, especially if you’re using real-time carrier rates.
If you’re selling digital products or services that don’t require shipping, you can leave these fields empty.
Adding Variable Products with Attributes
Variable products require a bit more setup but offer tremendous flexibility for stores selling items in multiple sizes, colors, or configurations.
To create a variable product, select Variable product from the Product Data dropdown.
Navigate to the Attributes tab and click “Add” to create custom attributes. For example, create a “Size” attribute with values like Small, Medium, Large, and Extra Large. Make sure to check “Used for variations” and “Visible on the product page.”
After saving attributes, switch to the Variations tab and select “Create variations from all attributes” from the dropdown menu. WooCommerce will automatically generate all possible combinations.
You can then edit each variation individually to set specific prices, stock levels, and images for each combination.
For stores with complex product variations, the StackWC Variation Swatches plugin can enhance the customer experience by replacing standard dropdowns with visual color or image swatches, making it easier for shoppers to see their options at a glance.
Tips for Optimizing Your Product Listings
Creating products is just the beginning. Here are some tips to maximize their effectiveness:
Write compelling product descriptions that focus on benefits, not just features. Instead of “100% cotton fabric,” try “Breathable 100% cotton keeps you cool and comfortable all day.”
Use SEO-friendly URLs by editing the permalink to include your target keywords. WordPress generates these automatically, but you can customize them for better optimization.
Add short descriptions using the excerpt field. This text appears on product archive pages and provides a quick summary to entice clicks.
Enable customer reviews under the Advanced tab. Social proof significantly influences purchasing decisions, and reviews also provide fresh, user-generated content that search engines value. For stores managing large product catalogs, consider using bulk editing features or plugins that streamline product management. The StackWC Plugins can save hours when you need to update multiple products simultaneously.
Common Mistakes to Avoid
Even experienced store owners sometimes make these errors:
Skipping product descriptions or using manufacturer descriptions that appear on dozens of other sites hurts your SEO and doesn’t help customers understand why they should buy from you.
Ignoring mobile optimization is a critical mistake since most online shopping happens on mobile devices. Always preview how your products appear on smartphones.
Forgetting to set up related products means missing cross-selling opportunities. Use the Linked Products section to suggest complementary items.
Not testing the checkout process after adding products can lead to frustrated customers and lost sales. Always complete a test purchase to ensure everything works smoothly.
Enhancing Product Pages with Custom Tabs
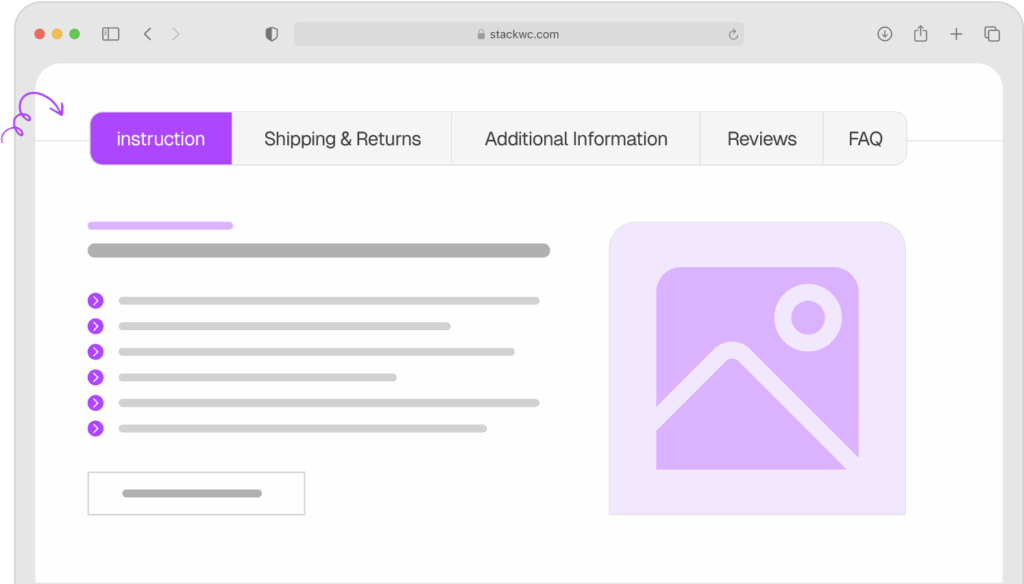
Once you’ve added your basic product information, you might find that the default WooCommerce product page layout doesn’t provide enough flexibility to showcase all your product details effectively. Standard product pages include description and additional information tabs, but what if you need to add sizing charts, care instructions, warranty details, or video tutorials?
The Product Tabs for WooCommerce plugin solves this limitation by allowing you to create unlimited custom tabs on your product pages. This feature helps you organize product information in a clean, scannable format that doesn’t overwhelm customers.
Product Tabs for WooCommerce
Here are some practical ways to use custom product tabs:
Sizing and Fit Information: For clothing or footwear stores, create a dedicated sizing chart tab that helps customers choose the right size, reducing returns and improving satisfaction.
Care Instructions: Add detailed washing, maintenance, or assembly instructions in a separate tab, keeping your main description focused on selling benefits.
Technical Specifications: For electronics or appliances, create a specs tab with detailed technical information without cluttering the main product description.
Video Demonstrations: Embed product videos, tutorials, or customer testimonials in a dedicated multimedia tab.
Warranty and Returns: Clearly communicate your policies in a separate tab, building trust and reducing pre-purchase questions.
Custom tabs help you present comprehensive product information in an organized way, making it easier for customers to find what they need and make informed purchasing decisions.
Adding Quick Buy Functionality to Products
In today’s fast-paced shopping environment, customers appreciate streamlined purchasing options. One major friction point in standard WooCommerce stores is the multi-step process: add to cart, view cart, proceed to checkout. For customers who already know what they want, these extra steps can be frustrating.
The Quick Buy Now Button for WooCommerce plugin adds a “Buy Now” button alongside the standard “Add to Cart” button. When clicked, it bypasses the cart page entirely and takes customers directly to checkout.
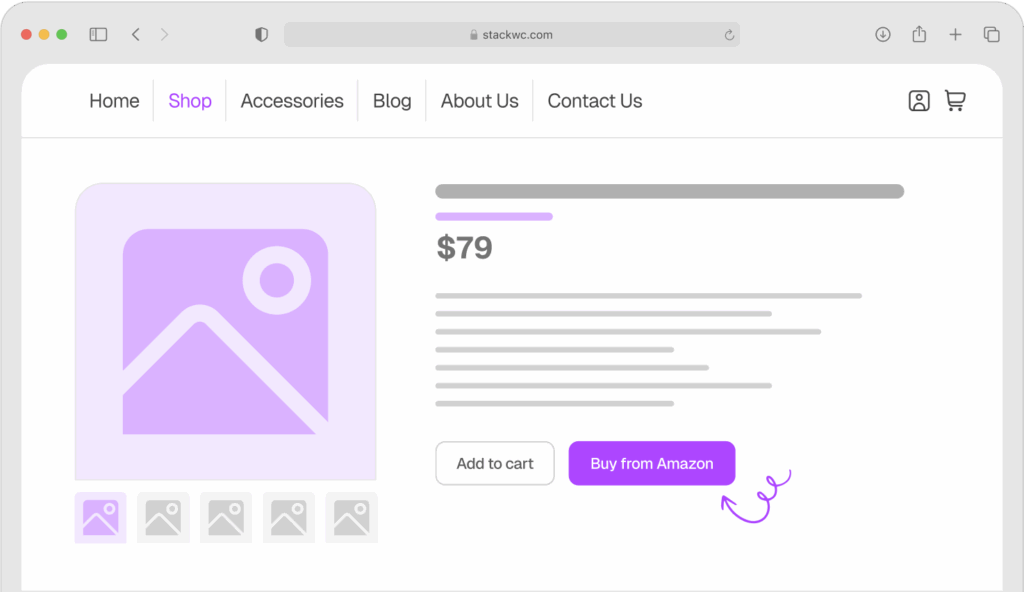
Quick Buy Now Button for WooCommerce
This feature offers several benefits:
Reduced Cart Abandonment: Fewer steps mean fewer opportunities for customers to change their minds or get distracted.
Improved Mobile Experience: Mobile shoppers especially appreciate one-click purchasing options that minimize tapping and page loads.
Higher Impulse Purchase Rates: When customers are ready to buy, removing friction helps capture that decisive moment.
Better for Single-Item Purchases: Perfect for stores where customers typically buy one item at a time rather than building large carts.
The quick buy button is particularly valuable for digital products, event tickets, limited-time offers, or any products where the buying decision is straightforward. You can customize the button text, styling, and placement to match your store’s design and branding.
Managing Store Hours for Product Availability
Not all online stores operate 24/7. If you run a business with specific operating hours—like a restaurant offering online ordering, a service-based business, or a store with limited fulfillment capacity—you need a way to control when customers can place orders.
The Open Close Store for WooCommerce plugin gives you complete control over your store’s availability. Instead of manually enabling and disabling your entire WooCommerce shop, this plugin automatically manages store hours based on your schedule.
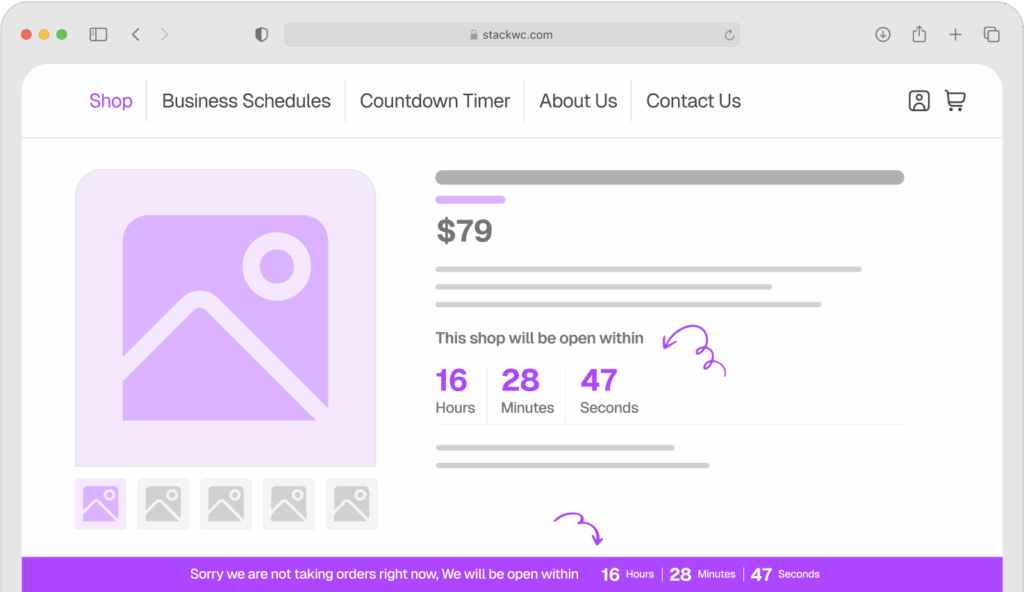
Open Close Store for WooCommerce
Key features and use cases include:
Restaurant and Food Delivery: Only accept orders during kitchen hours, preventing frustration from customers ordering when you’re closed.
Service Businesses: Limit bookings to your actual working hours, ensuring you can fulfill all orders promptly.
Time-Zone Management: If you’re a small operation handling orders personally, restrict purchasing to times when you’re available for customer support.
Seasonal or Event-Based Stores: Easily schedule store opening and closing for pop-up shops or seasonal businesses.
Holiday Scheduling: Set store closures for holidays or vacation periods in advance.
The plugin displays clear messaging to visitors when your store is closed, letting them know when you’ll be open again. This transparency builds trust and sets appropriate expectations rather than leaving customers wondering why they can’t complete a purchase.
You can also customize the closed message, add countdown timers showing when the store reopens, and even allow browsing while disabling the checkout process.
Setting Up Order Notifications
When you’re running an online store, timely order notifications are crucial for maintaining smooth operations. Missing an order notification can lead to delayed fulfillment, unhappy customers, and negative reviews. Standard WooCommerce sends email notifications, but emails can get buried in crowded inboxes or caught by spam filters.
The Order Notification for WooCommerce plugin enhances your order notification system by providing additional alert methods that ensure you never miss an order.
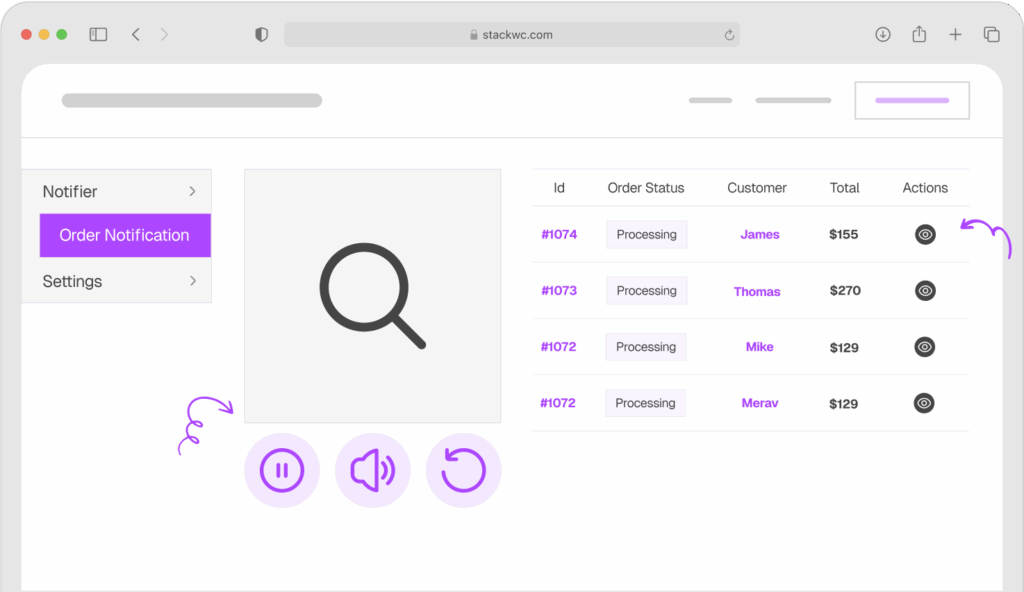
Order Notification for WooCommerce
This plugin is particularly valuable for:
Small Business Owners: If you’re personally handling order fulfillment, instant alerts help you process orders immediately rather than checking email throughout the day.
Multi-Channel Notifications: Set up alerts through multiple channels for redundancy—if you miss an email, you’ll still get notified through alternative methods.
Mobile Management: Receive notifications directly to your phone, allowing you to monitor orders even when you’re away from your computer.
Team Coordination: Send alerts to multiple team members simultaneously, ensuring someone always catches new orders.
High-Value Orders: Set up special alerts for orders above certain amounts, flagging VIP customers or large purchases that need extra attention.
The plugin typically offers customization options for notification sounds, frequency, and conditions (like order amount thresholds or specific product purchases). This flexibility lets you tailor the alert system to your specific business needs without notification fatigue.
Reliable order notifications improve response times, enhance customer satisfaction, and help you maintain professional service standards even during busy periods.
Common Questions and Answers
WooCommerce has no built-in limit on the number of products you can add. However, your hosting environment’s resources (database size, server memory) may impact performance with very large catalogs. Most stores can comfortably handle thousands of products with proper optimization.
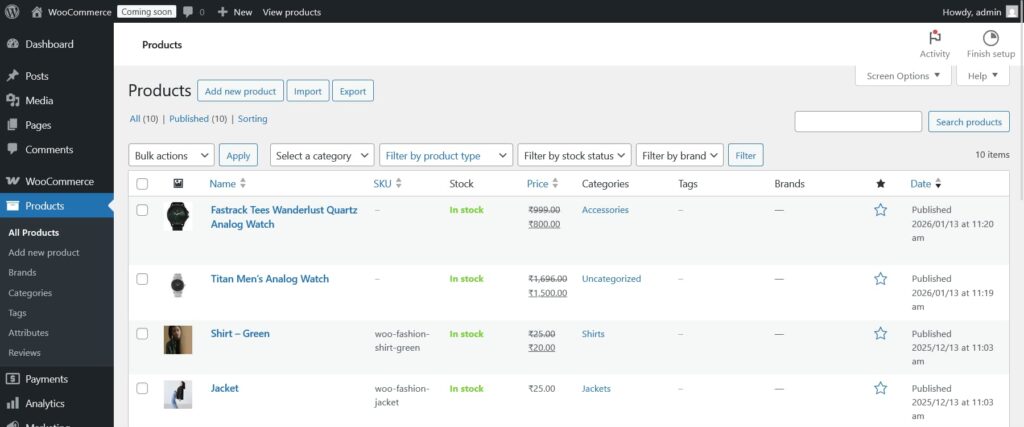
Yes! WooCommerce includes a built-in CSV importer under Products > Import. This feature is perfect when you’re migrating from another platform or adding multiple products at once. You can also export your existing products as a template to ensure your import file is formatted correctly.
Categories are hierarchical and help organize your products into structured groups (like a filing system). Tags are non-hierarchical keywords that describe specific attributes or features. Categories are typically used for navigation, while tags help with filtering and internal search.
When creating a product, check the “Downloadable” checkbox in the Product Data section. This will reveal fields where you can upload files and set download limits. You can also mark products as “Virtual” if they don’t require shipping, which is useful for services or digital goods.
Absolutely! When you edit individual variations in a variable product, each variation can have its own price, stock level, SKU, and even images. This flexibility allows you to charge more for premium options like larger sizes or special colors.
Conclusion
Congratulations! You now have a solid understanding of how to add products in WooCommerce, from simple items to complex variable products with multiple attributes. While the process might seem overwhelming at first, it quickly becomes second nature as you add more products to your store.
Remember that building a successful online store isn’t just about adding products, it’s about creating an experience that builds trust and makes buying easy. Take time to craft compelling descriptions, use high-quality images, organize your catalog logically, and continuously optimize based on customer behavior and feedback.
The beauty of WooCommerce is its flexibility. As your business grows, you can enhance your product management with tools like the StackWC product enhancement plugins that streamline workflows and improve the shopping experience.
Start with the basics we’ve covered in this guide, then gradually explore advanced features like upsells, cross-sells, and product bundles. Test different approaches, monitor what works, and don’t be afraid to refine your strategy as you learn more about your customers.
Your products are now ready to meet the world. The next step? Drive traffic to your store and turn those carefully crafted listings into sales. For more guidance on growing your WooCommerce business, explore our resources on WooCommerce marketing strategies and conversion optimization tips.
Happy selling!