Have you ever tried adding a t-shirt to your WooCommerce store only to end up with five separate product listings? One for each size. It’s messy, confusing for shoppers, and a nightmare to manage.
That’s the problem WooCommerce variable products are designed to solve.
A WooCommerce variable product lets you sell one product with multiple options like size, color, or material all from a single product page. Shoppers pick what they want. You manage everything in one place.
In this guide, you’ll learn exactly how to set up variable products the right way. Whether you’re selling clothes, shoes, mugs, or accessories, this walkthrough has you covered.
No coding required. No confusion. Just a clean, working product page your customers will love.
The Problem: One Product, Too Many Variations
Here’s a situation most store owners know too well.
You sell a hoodie. It comes in small, medium, large, and XL. It also comes in black, gray, and navy. That’s 12 combinations and managing them as separate products is a disaster.
Your customers have to hunt through your catalog just to find the right color and size. Many of them give up and leave.
According to the Baymard Institute, poor product page UX is one of the top reasons shoppers abandon purchases. When options aren’t clearly presented, conversions drop fast.
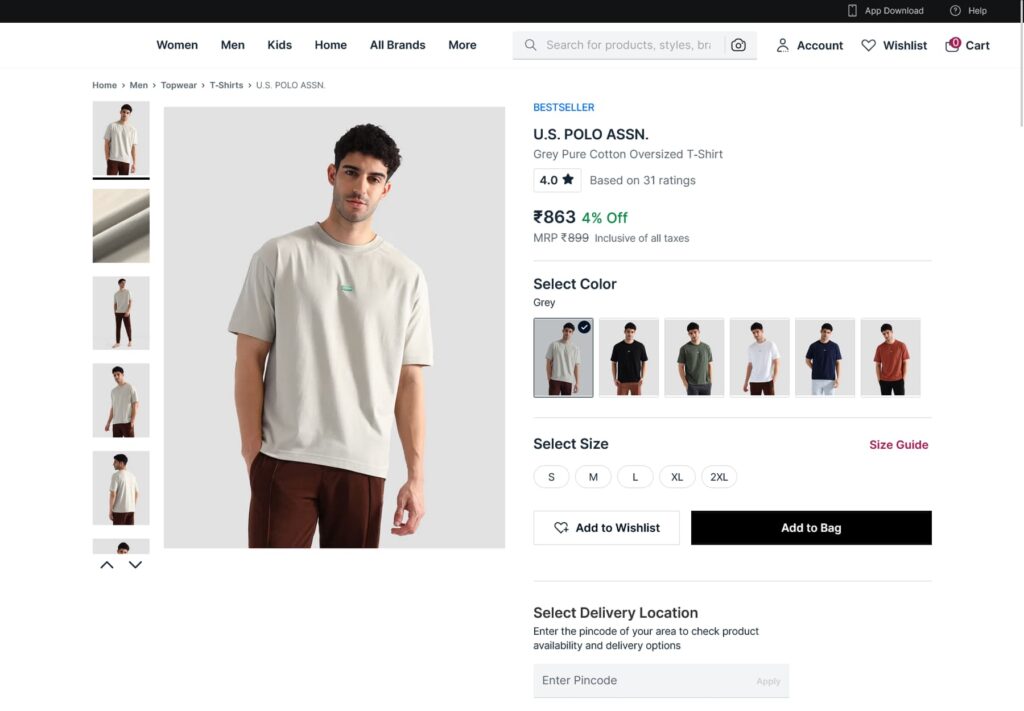
The good news? WooCommerce has a built-in solution. Variable products let you display all options on one page, with dropdowns or swatches for customers to choose from.
But there’s a catch. Setting them up incorrectly leads to broken pricing, missing stock, or confusing add-to-cart buttons. That’s what this guide helps you avoid.
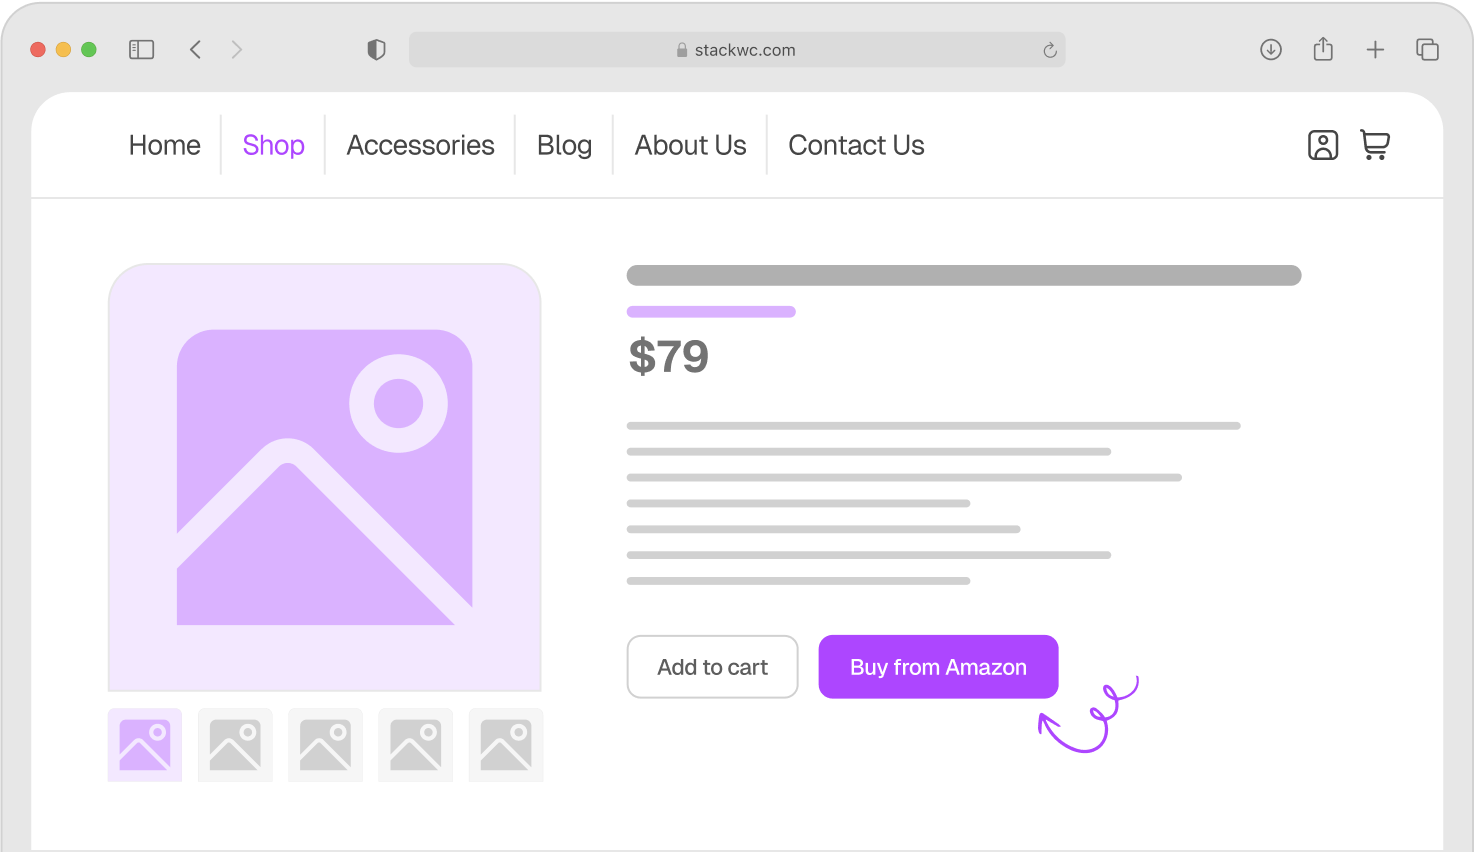
And once you have a clean product page? You can pair it with tools like a Quick Buy Now Button for WooCommerce to reduce checkout friction and turn browsers into buyers faster.
The Solution: How WooCommerce Variable Products Work
Variable products in WooCommerce are built using two key building blocks: attributes and variations.
Think of it this way:
- Attributes are the categories of options (like “Size” or “Color”)
- Variations are the specific combinations (like Size: Medium + Color: Black)
Each variation can have its own price, stock level, weight, image, and SKU. That gives you incredible flexibility without the clutter of separate products.
Here’s a quick breakdown of what you can control per variation:
- Price: charge more for larger sizes, premium colors, etc.
- Stock: track inventory per variation independently
- Image: show the right product photo when a customer selects a color
- SKU: Keep your inventory system organized
- Weight and dimensions: important if you use calculated shipping
Why This Matters for Your Store
- Cleaner catalog, one product instead of many
- Better UX, customers find what they need in seconds
- Easier inventory management, everything in one product panel
- Higher conversions, less confusion at the point of purchase
You can also combine variable products with Product Tabs for WooCommerce to organize size guides, care instructions, or shipping info on the same page. That keeps customers informed and confident enough to buy.
Step-by-Step Guide: Setting Up WooCommerce Variable Products
Ready to build your first variable product? Follow these steps no coding needed.
Step 1: Create a New Product
Go to your WordPress dashboard. Click Products → Add New. Give your product a name and add a description.
Step 2: Set the Product Type to “Variable Product”
In the Product Data box, click the dropdown that says “Simple product.” Select Variable product. The panel will update with new tabs.
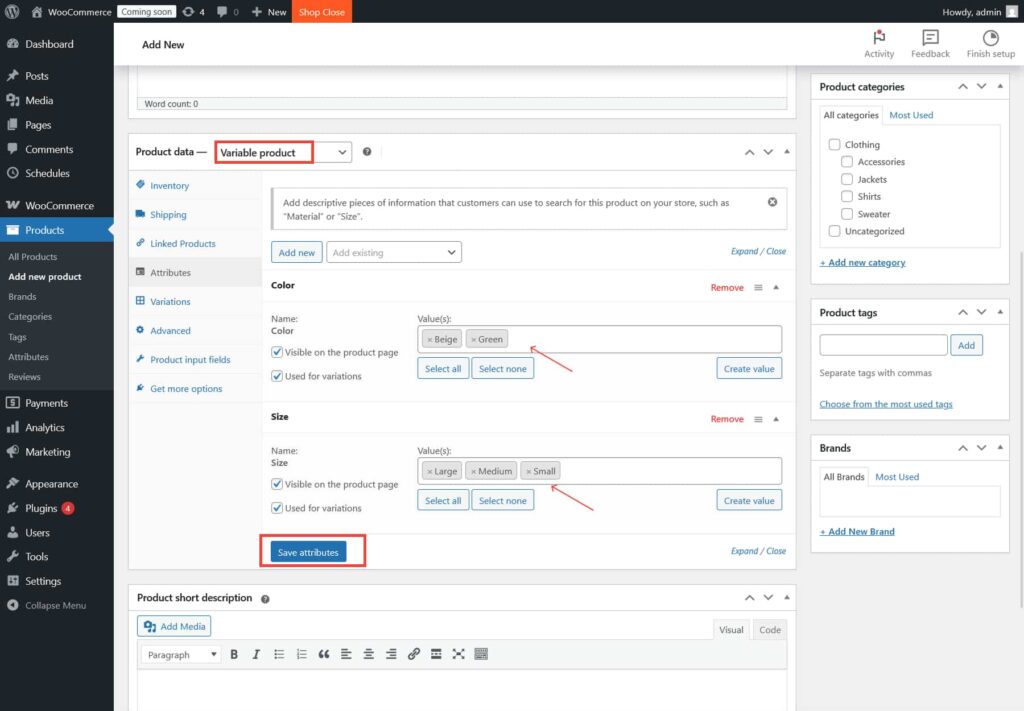
Step 3: Add Your Attributes
Click the Attributes tab. You can use a global attribute (like “Size” or “Color” that you’ve set up under Products → Attributes) or create a custom one here.
- Enter the attribute name (e.g., “Size”)
- Add values separated by a pipe: Small | Medium | Large | XL
- Check Used for variations
- Click Save attributes
Step 4: Generate Variations
Click the Variations tab. From the dropdown, select Create variations from all attributes. Click Go. WooCommerce will generate every possible combination automatically.
Step 5: Set Prices, Stock, and Images Per Variation
Click on each variation to expand it. Set the price, stock quantity, and optionally a unique image and SKU for each one.
Step 6: Add Product Images
Upload a featured image and a gallery. If you’ve set variation-specific images, they’ll switch automatically when a customer picks an option.
Step 7: Publish Your Product
Click Publish. Visit the product page to test it. Try selecting each variation and make sure the price, image, and add-to-cart button behave correctly.
Real-World Examples: Variable Products in Action
1. A Clothing Boutique
Sarah runs a small online boutique selling handmade dresses. Each dress comes in three sizes and four colors. Before using variable products, she had 12 separate listings for just one dress design.
After switching to variable products, she reduced her catalog by 70% while making it easier for shoppers to browse. Her add-to-cart rate improved because customers could select exactly what they wanted without leaving the page.
2. A Coffee Brand
Marcus sells specialty coffee online. His blends come in 250g, 500g, and 1kg bags. Each size has a different price and weight. Using variable products, he manages all three sizes in one listing with automatic price updates when customers select their bag size.
He also added a Quick Buy Now Button for WooCommerce to help repeat customers skip the cart and check out in seconds. His mobile conversion rate jumped noticeably within the first month.
3. A Custom Phone Case Shop
Priya sells phone cases compatible with 15 different phone models, each available in six designs. That’s 90 potential combinations. With variable products, she keeps it all in one product listing with dropdowns for model and design.
She also uses Product Tabs for WooCommerce to add a compatibility guide tab, so customers can double-check their phone model before buying. Returns dropped significantly.
Common Questions About WooCommerce Variable Products
Yes, absolutely. Each variation has its own price field. You can charge more for larger sizes, premium colors, or limited editions. Just expand the variation and update the price.
You can set the stock quantity per variation. When it hits zero, that option becomes unavailable on the front end customers won’t even see it as selectable. No confusion, no overselling.
WooCommerce loads up to 30 variations by default via AJAX. If you have more, you may need to adjust settings or use a performance plugin. For most stores, staying under 50 variations per product keeps things smooth.
You can set a variation to “enabled” or “disabled” without deleting it. This is handy for seasonal products or items temporarily out of production. If you want to control product availability by time or schedule, check out Open Close Store for WooCommerce, which lets you manage when customers can actually place orders.
Conclusion: Simplify Your Store, Boost Your Sales
Setting up WooCommerce variable products the right way makes a real difference. Your catalog gets cleaner. Your customers get a better experience. And your conversions go up because people can find exactly what they want fast.
Here’s one final tip: after setting up your variable products, check your product page from a mobile device. Most shoppers today are browsing on their phones. Make sure the dropdowns are easy to tap, and the images load quickly.
A clean product page, paired with tools that reduce friction, can turn a casual browser into a loyal customer.
Ready to reduce checkout friction and boost conversions?
Try the Quick Buy Now Button for WooCommerce with a 14-day money-back guarantee. No risk, fully supported, no coding needed.
Want to organize your product pages even better? Product Tabs for WooCommerce makes it easy to add size guides, FAQs, and custom sections all without touching code.
Looking for more WooCommerce tutorials and free resources? Visit Tutsflow for step-by-step guides built for store owners like you.